For a while now I’ve wanted to create my own Vacuum-based offering machine… ever since I saw them pop up on CMConnect.org. The only thing that kept me from making my own was the doubt that I could find the right materials and be able to cobble them together in a way that would be air tight and still look presentable.
The idea is that you can increase your kids ministry offering by having the kids trade their coins for rubber bounce balls. Then at offering time they come forward and the offering machine sucks up the balls. The machine has a clear tank so the kids see their offering go inside. Fun right? Yes!
Here are some examples of what I’ve seen out there in the CM wild:


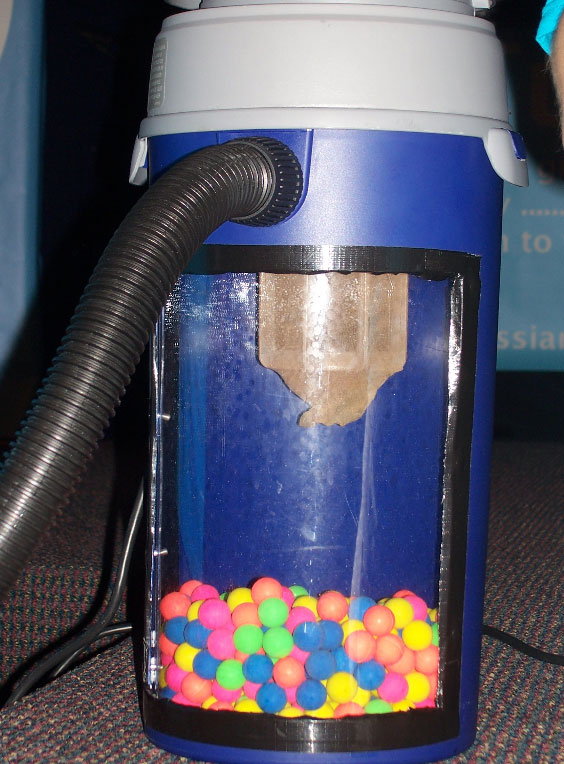
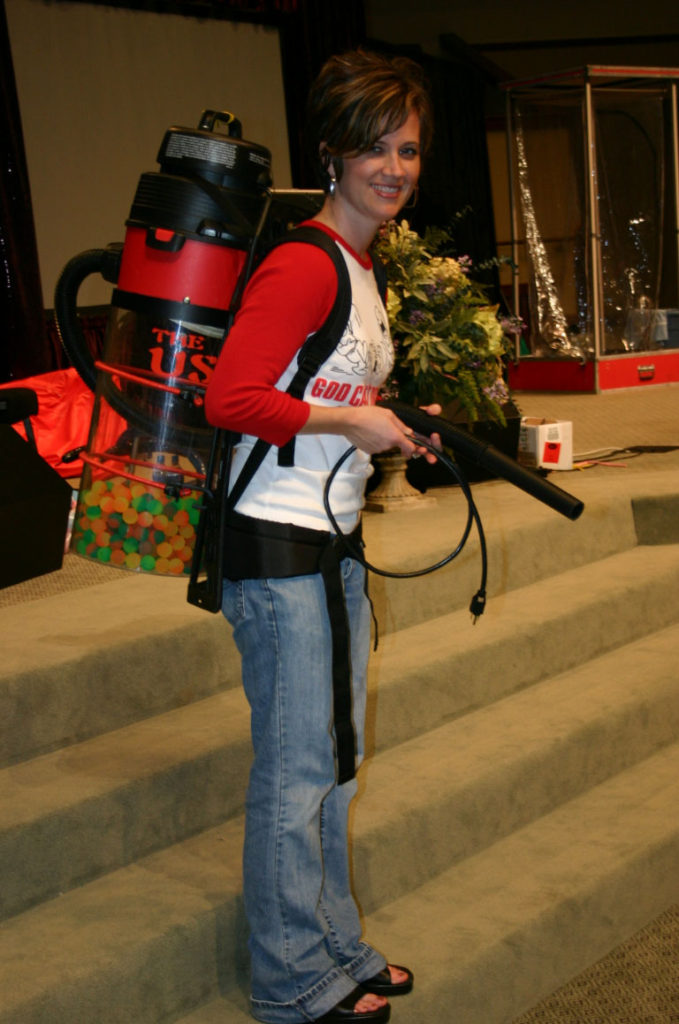
Well I’m thrilled to say that I have finally made my own. They look great and they were dead simple. Plus, I got everything I needed at the local Lowe’s store.
They have these new shop vacs that mount to the top of a 5 gallon bucket.
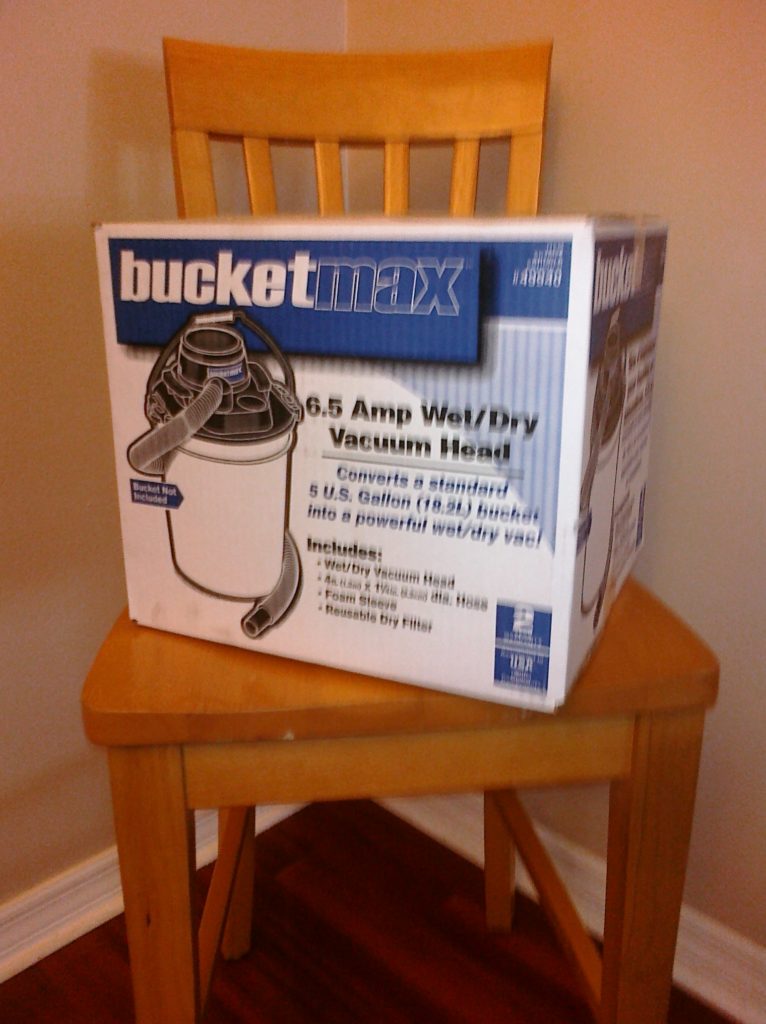
The only problem is that 5 gallon buckets aren’t clear. They’re typically white. But today I found these.
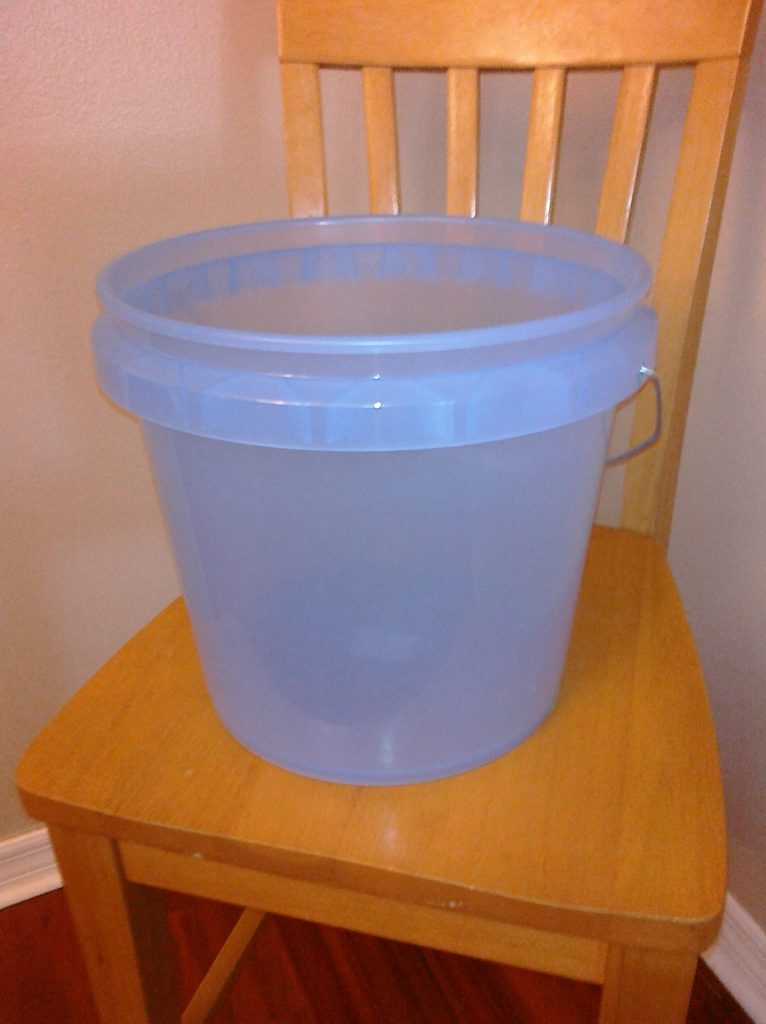
They come in various colors and are the closest thing to clear you’re going to get. They’re located right next to the regular buckets in the paint section at Lowe’s. I bought a blue and a green one.
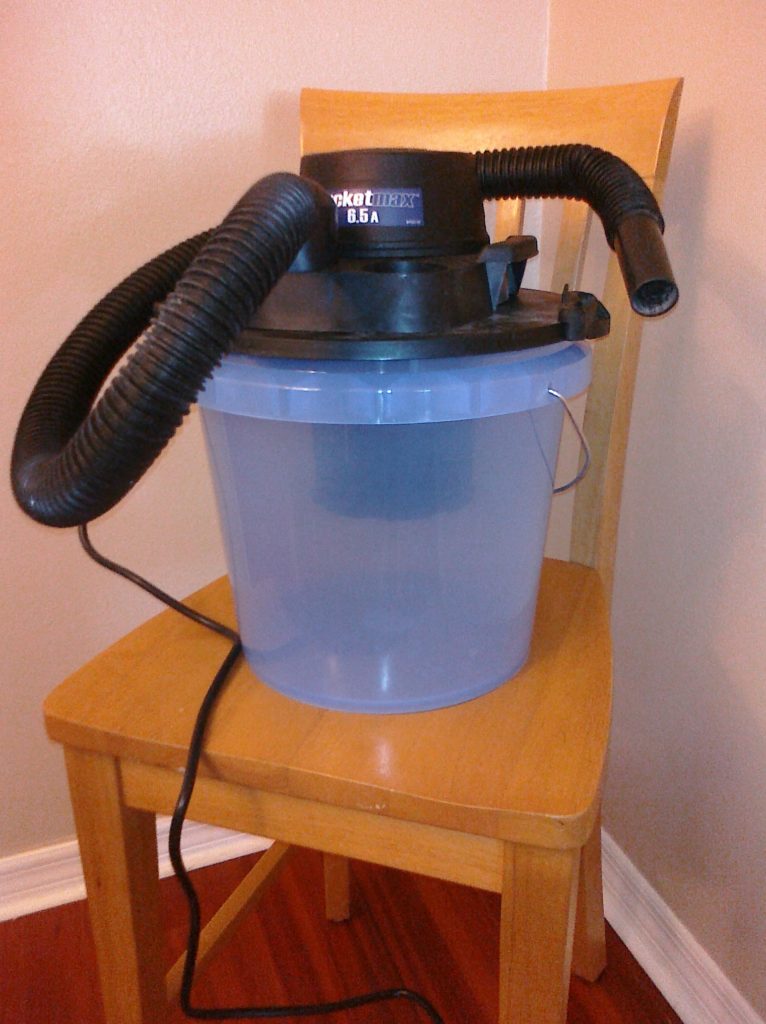
Then you just unpack the vac and stick it on the bucket… you’re done!
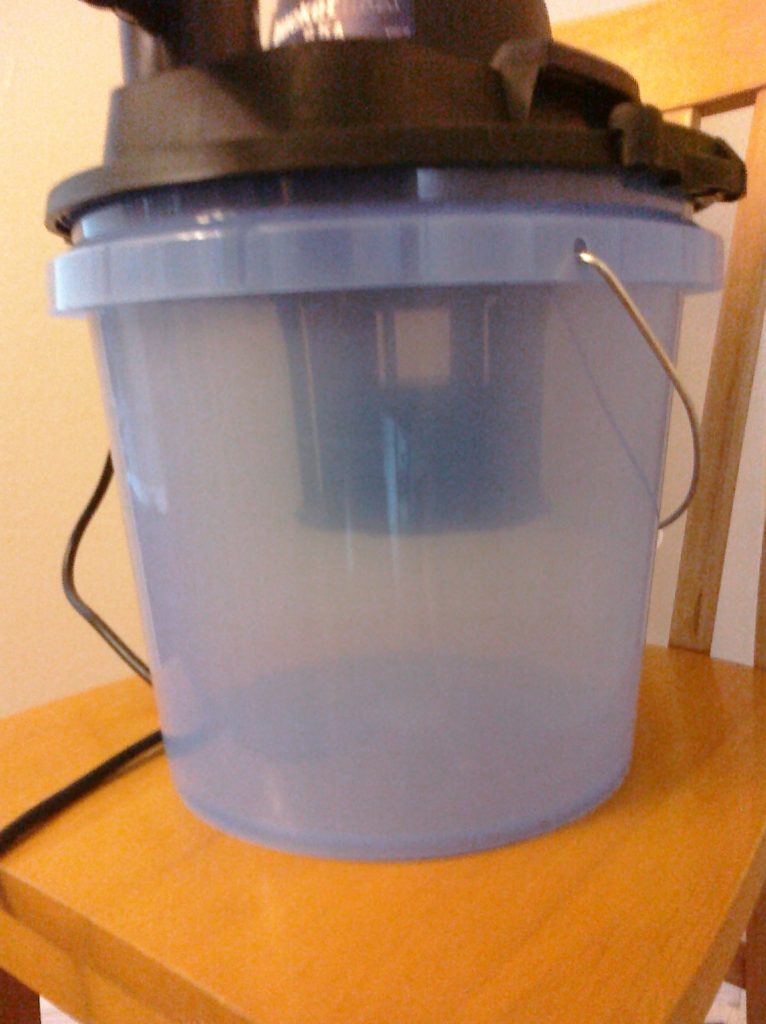
The bucket is pretty clear on it’s own… but I think I’m going to add a little LED light to the bottom of the vac that will turn on with the power switch. That will totally make this thing look amazing and transparent. I may decide to spray paint the vac to match the bucket. They have spray paint that will stick to plastic. I’ve had a lot of luck with the “Hammered Finish” spray paints.
I decided not to go with the solid rubber bouncy balls. They’re a pain when kids drop them and they’re heavy in bulk. I chose small “koosh” style “hedge balls” from USToy.com (the small ones).

So there you go! Super simple offering machines. The vacs run $20 each and the buckets were like $4-6 bucks each. You can’t buy a regular shop vac for less than $40! So this solution is simple and cheap.
I’ll be sure to post pictures when I get the lights installed and have them in use.
What do you think?
UPDATE 9/18/2010:
I went ahead and added a light to each offering machine. The result is incredible!
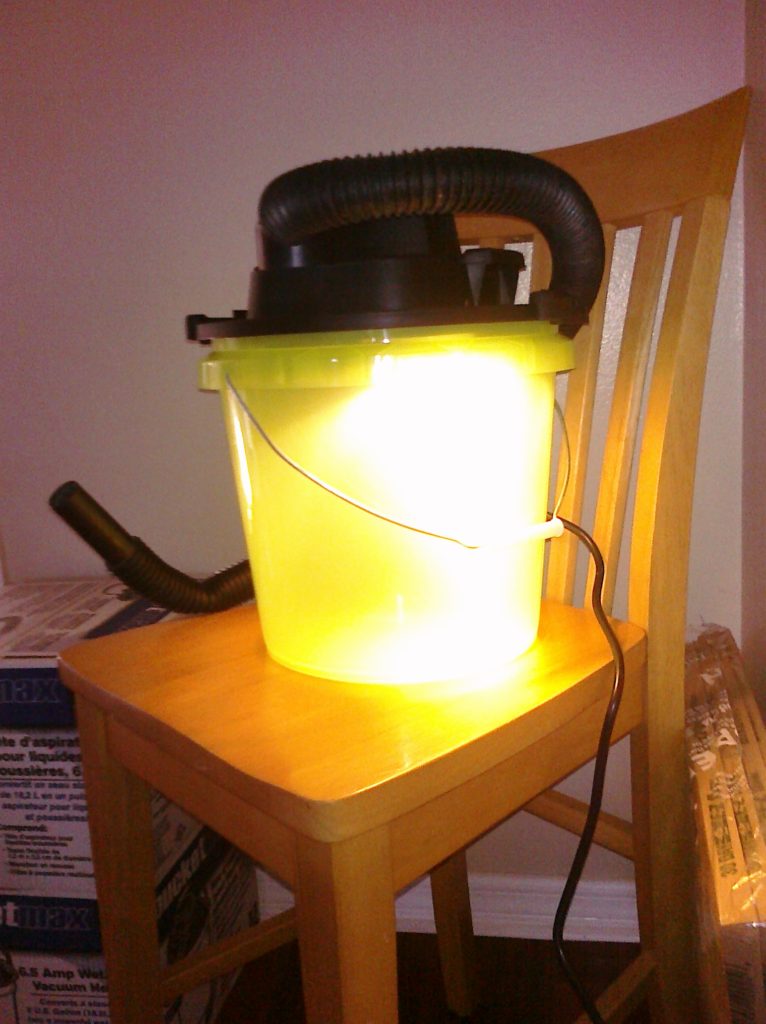
How did I do it? It’s going to be a bit tough to explain. I’m NOT an electrician and I can’t promise this thing won’t burn up or melt down… so I’m not going to give a step-by-step on this one… just find someone who knows what they’re doing and they’ll know how I did it.
What did I do? I’ll answer that. I went back to Lowe’s and picked up a couple of under-cabinet lights. They were around 10 bucks each.
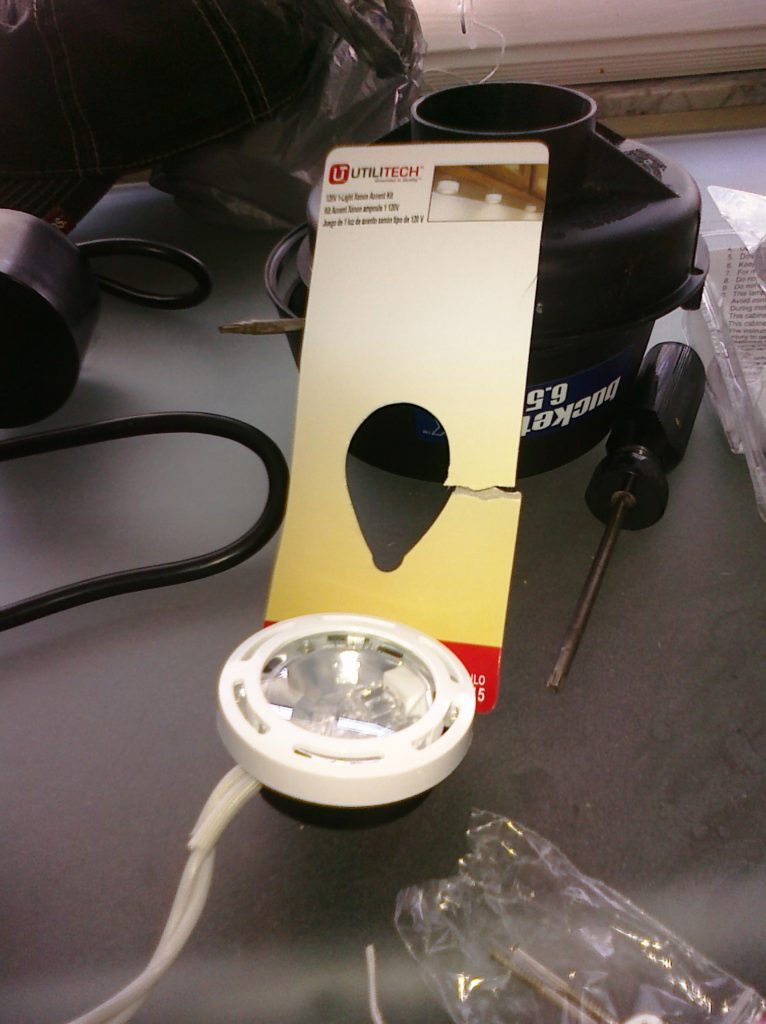
I drilled a hole for the chord and mounted the light to the bottom of the motor casing. I had to remove some of the plastic reinforcement to get the lamp to sit snug against the bottom of the case.
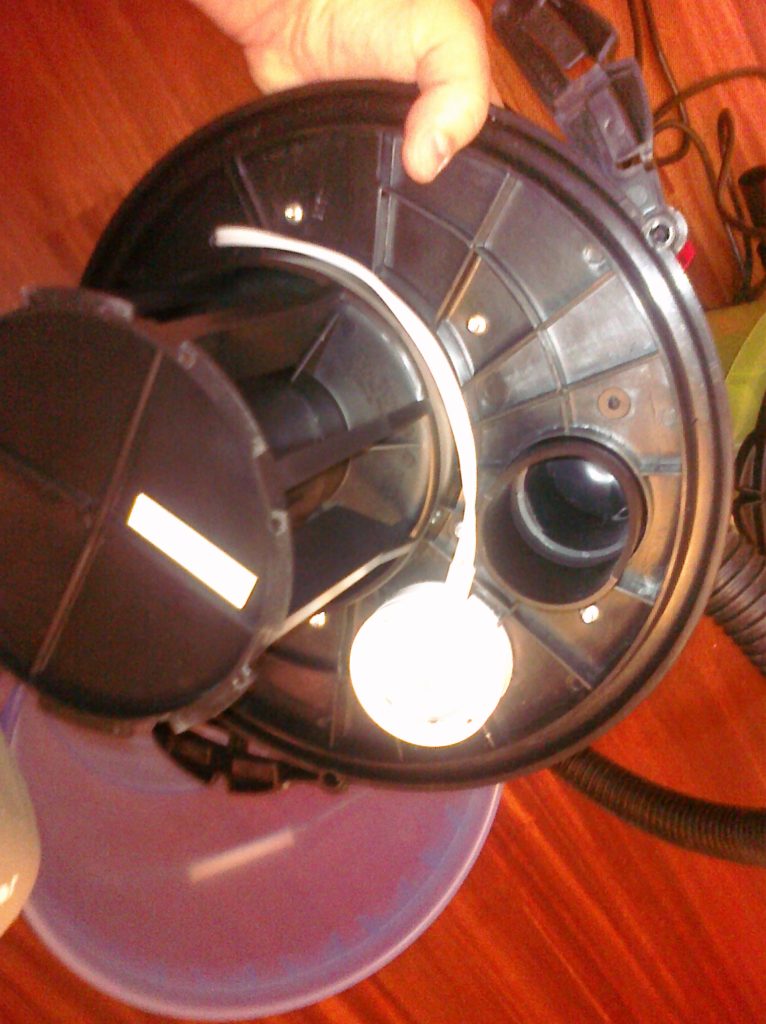
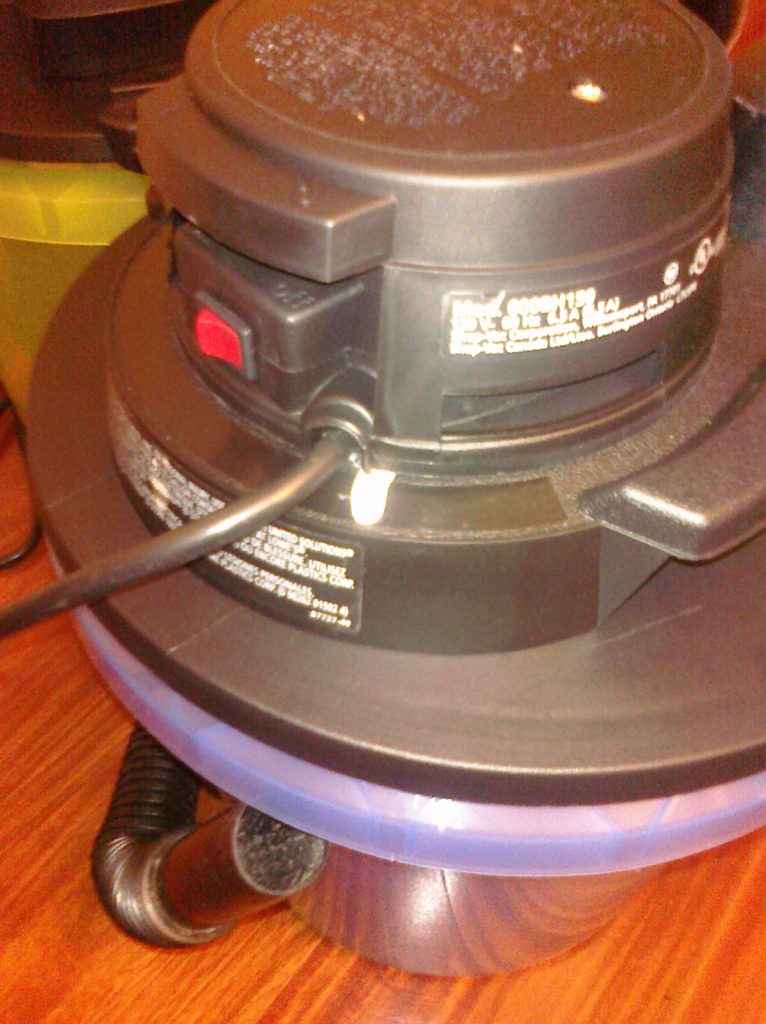
The hole led up through the top close to where the vac’s power chord entered the motor casing. I didn’t go up through the motor itself so I couldn’t mess up the suction or get moving parts mixed with wires. I removed a bit more plastic next to the power chord to allow my wire to fit once I screwed everything back together. All you can see now is just a tiny bit of the chord.
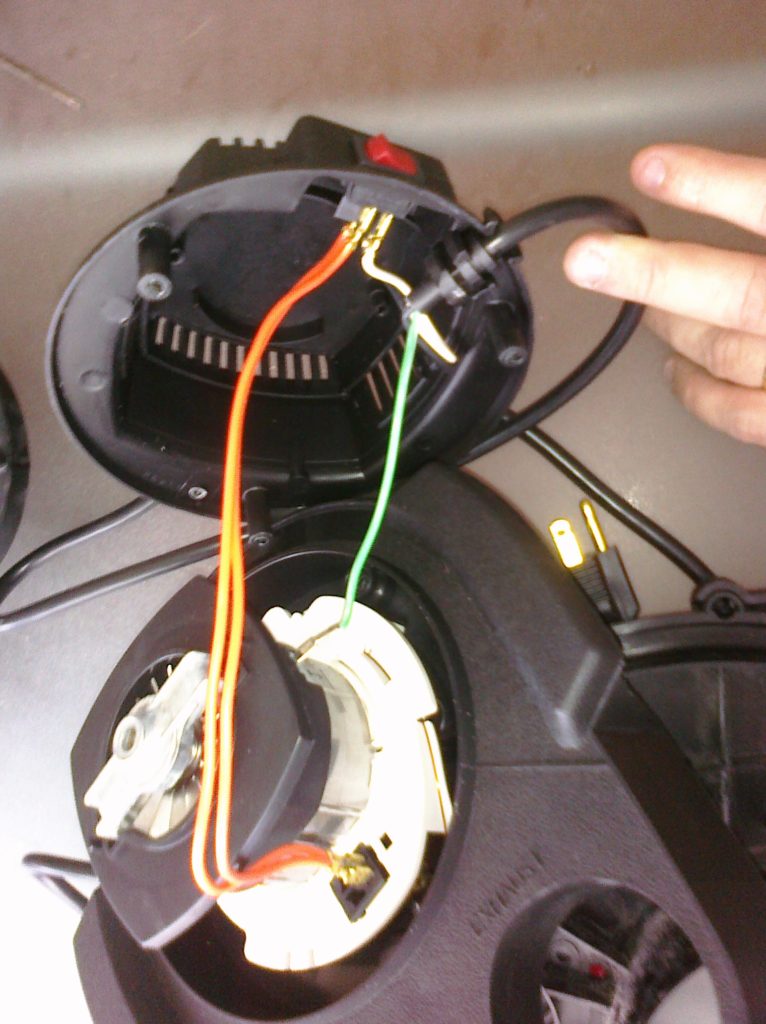
I opened the motor casing on the vac and wired the lamp to the vac motor chords after they left the main switch. This way the light comes on when I use the unit… no separate switch for the light. The following picture just shows the wires… not my modification. I just split one red wire at a time and put them together with one of the wires from the lamp with a wire nut. Then did the next.
Then I put everything back together and tried it out. It works!
Before:
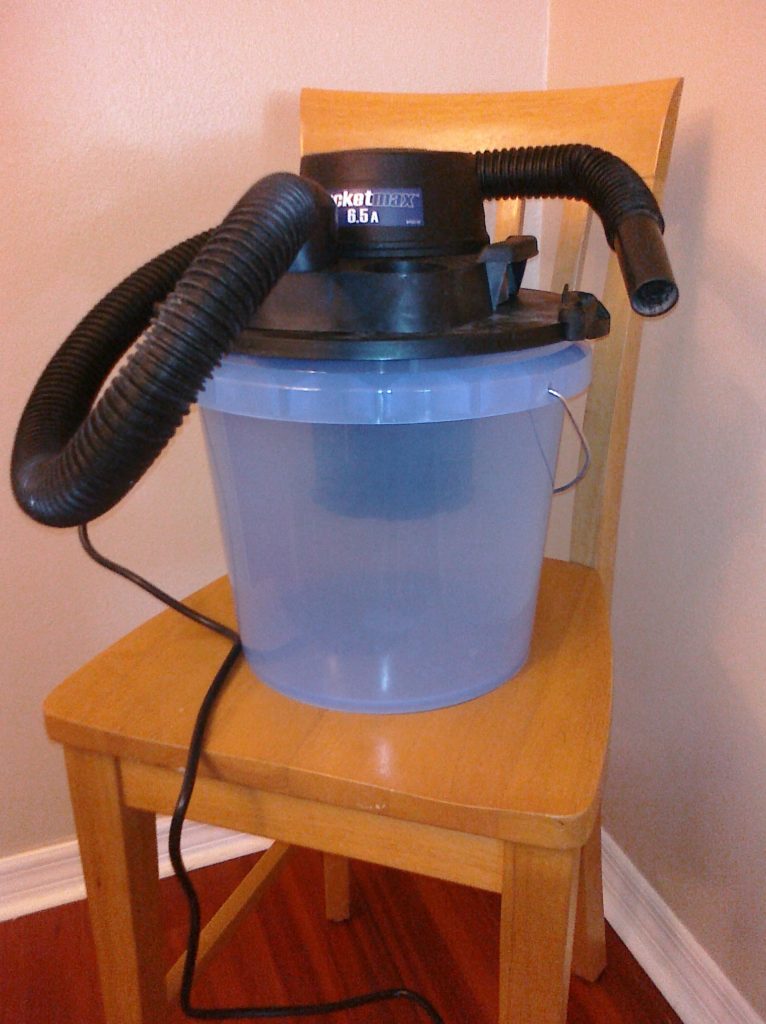
After:
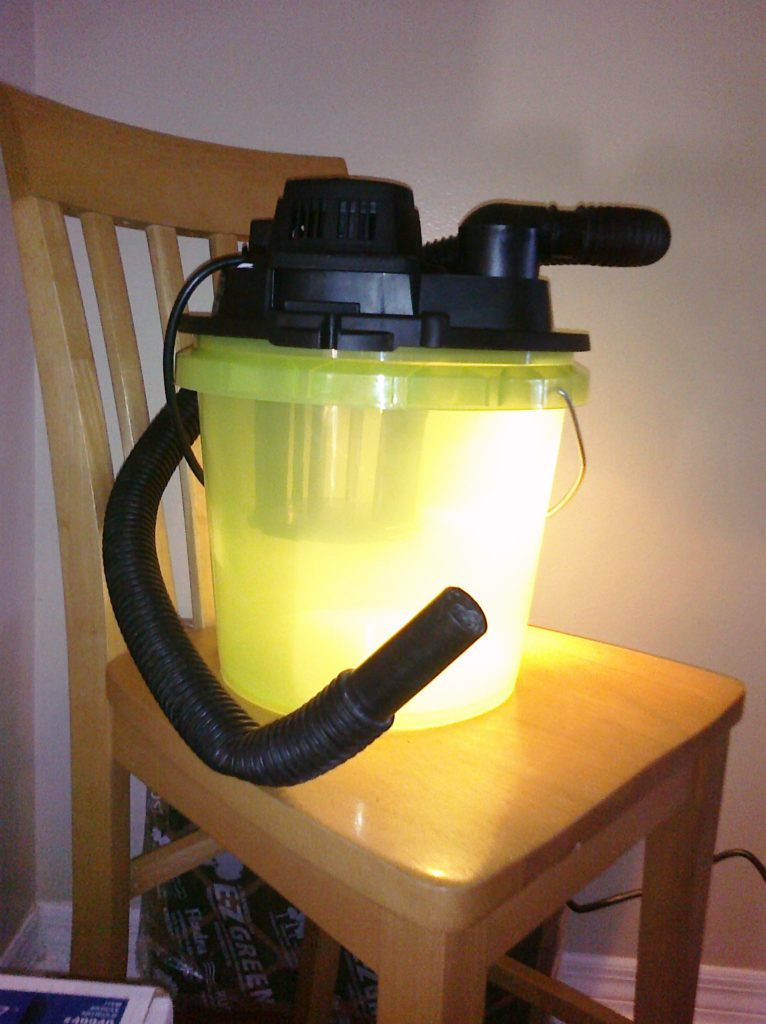
What do we think now? I’m thrilled!