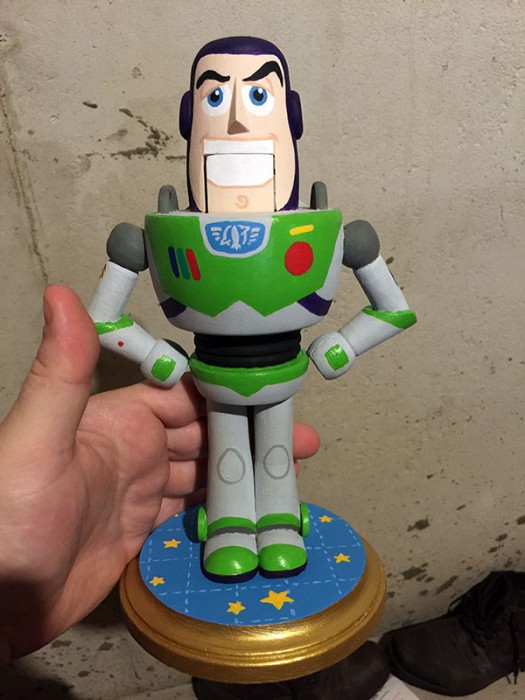
I never planned on making a Buzz Lightyear Nutcracker Doll. I was in Hobby Lobby, a local craft store, and saw some wooden Nutcracker blanks and thought, I wonder if I can paint that to look like a Buzz Lightyear? I took some pictures and decided to figure that out when I got home.
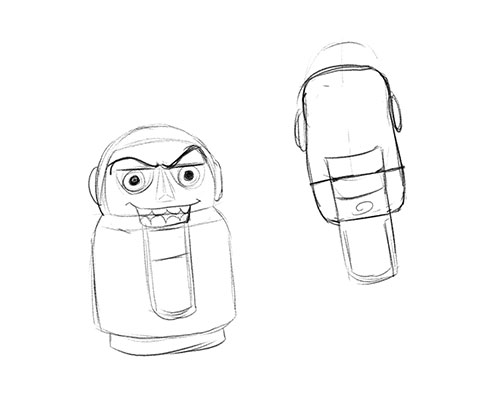
After looking around online for inspiration I started sketching. My first draft was pretty sad as I was trying to turn the Nutcracker into a Buzz Lightyear rather than making Buzz Lightyear into a Nutcracker. In the pic you’ll see that I tried to stick with the traditional Nutcracker teeth but it just make Buzz look super creepy.
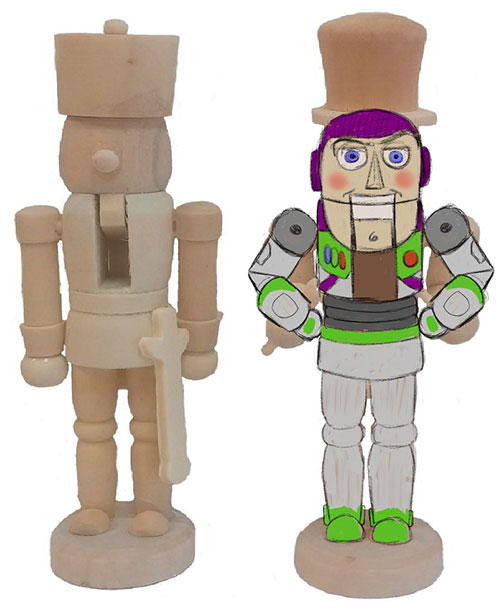
At this point I still wasn’t planning to start from scratch so I pulled up an image of a Nutcracker blank and virtually painted it on my Wacom tablet. It was okay, but I didn’t like that I was having to paint the jaw down where the chest should be. Nutcrackers are weird that way. Their top teeth start at the bottom of their head and their jaw drops down into their chest. I was determined to make this work.
It was time for round three. I fully embraced the Nutcracker’s mouth design and accepted the fact that I was going to have to make modifications to any Nutcracker blank I might acquire.
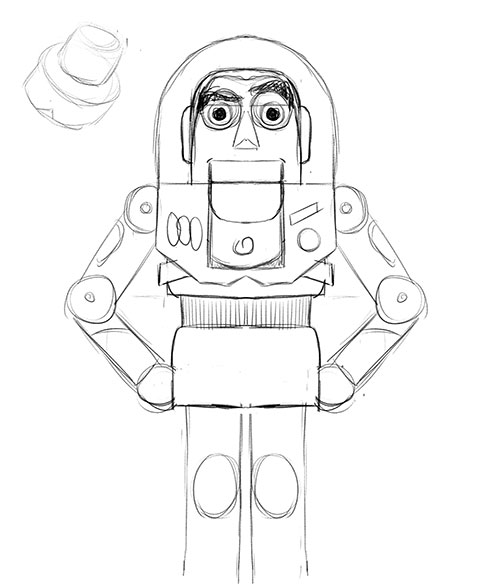
This was what I thought was going to be my final draft. Using the traditional Nutcracker mechanic I dropped the jaw down into the chest plate. It wasn’t a horrible idea, and it looked okay, but I found a huge flaw. The tiny sketch in the upper left shows what the head and chest would look like from an angle. The chest would be significantly bigger than the head which would cause the jaw to extend way beyond the head and would look completely ridiculous.
I realized that going forward I would stop trying to turn a Nutcracker into a Buzz Lightyear and instead start with a Buzz and then turn him into a Nutcracker. It was important to me that the mouth be the part that cracked the nuts. I wanted the lever in the back to open and close the jaw. I’d seen only two Buzz Lightyear Nutcrackers online and both of them “cheated” and added the lever, but not in a way that would actually crack nuts. Mine would have to crack nuts.
This required me to bring the mechanism up into the head entirely. Here’s my first draft on that idea.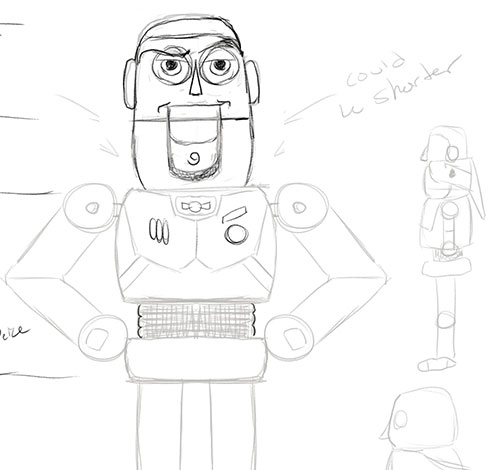
Though the sketch wasn’t much to look at I had moved up that lever into the head and out of the chest. I also removed the deep groove down the front of the chest (or face in this instance) that traditional Nutcrackers usually fill with a fleece beard. This meant I would have to dig out the area under the jaw so that it could drop down into the chest area as you can kinda see in the smaller sketch on the right. I still wasn’t happy with the look of the thing though. This led to the final draft.
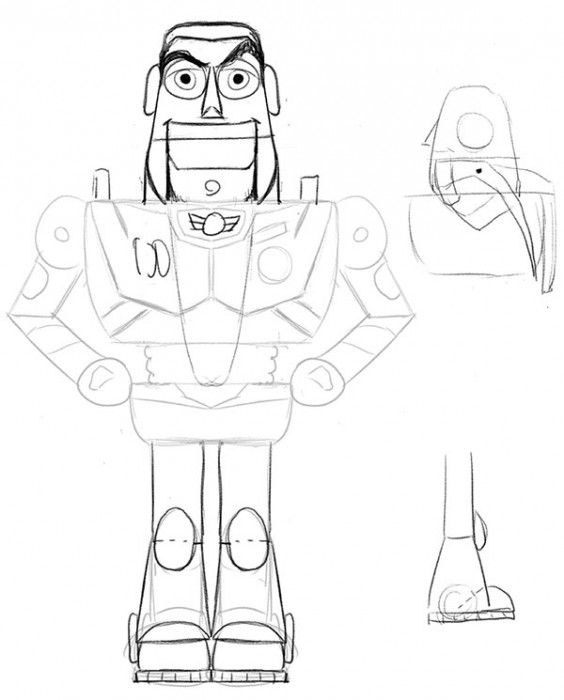
This sketch made me very happy. Nutcrackers are created on a lathe that turns wood very fast and allows a person to shape the wood. It was important to me to do the same with Buzz here. Nearly every part was created using my lathe. You can see in the upper right sketch how I planned on achieving the head-based nutcracker. In the lower right you can see how I planned to turn the lower leg then cut out a wedge to insert the shoe.
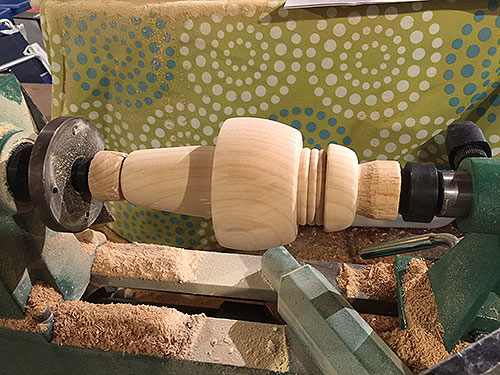
The head, chest, stomach and hips were all turned as one piece. It went pretty well. I love how you can sand things right on the lathe. Saves tons of time.
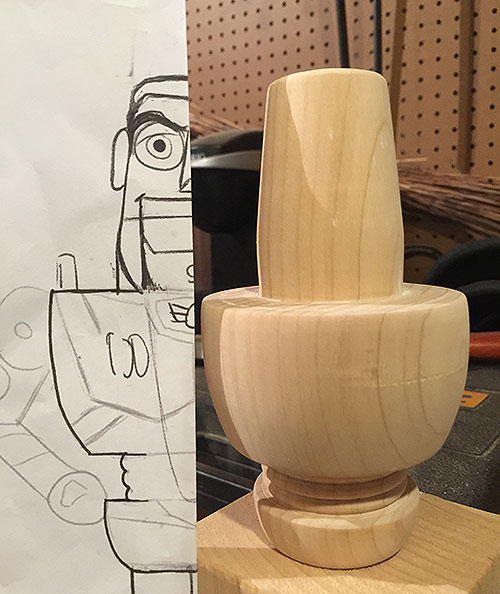
Just a comparison shot to show how close to the sketch I got.
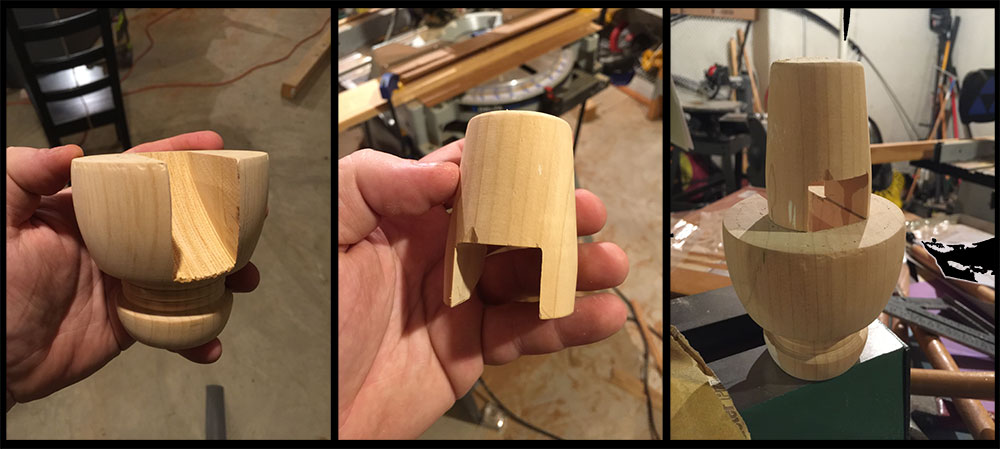
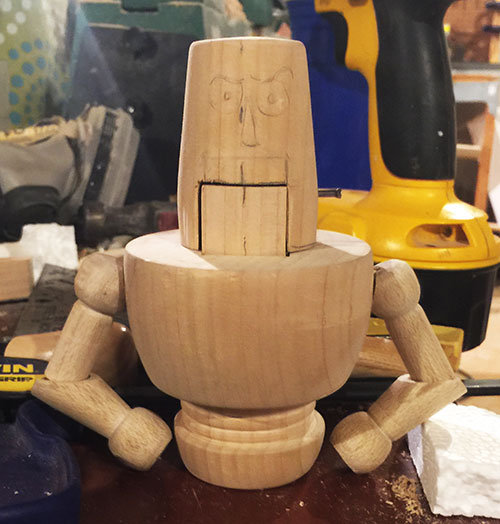
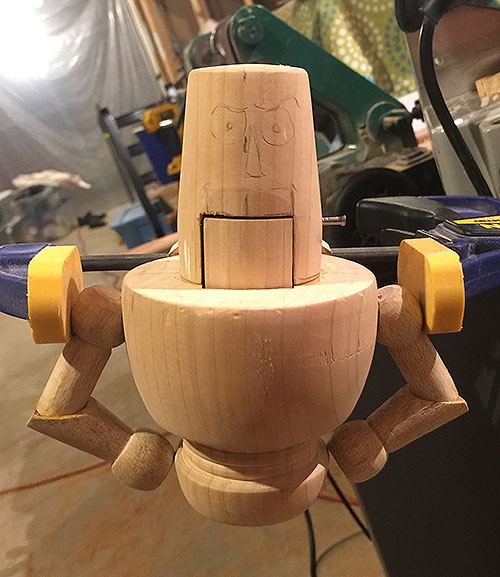
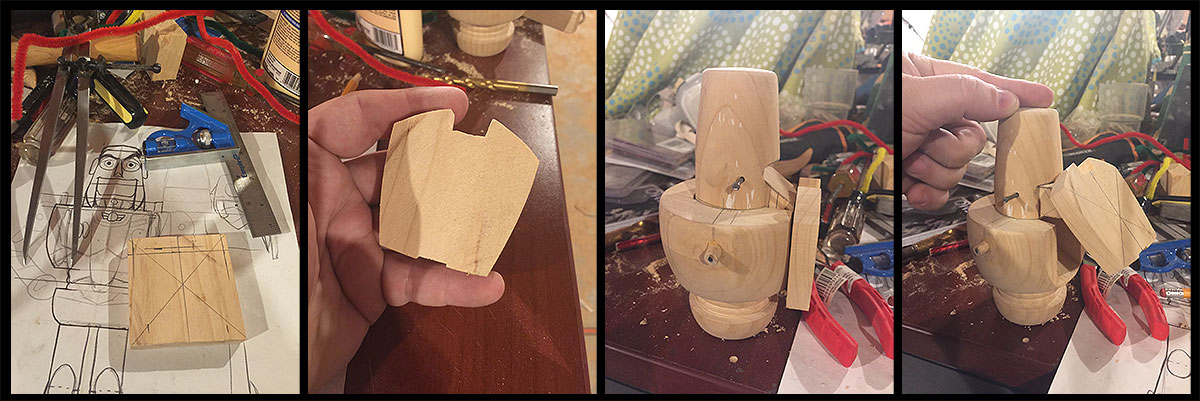
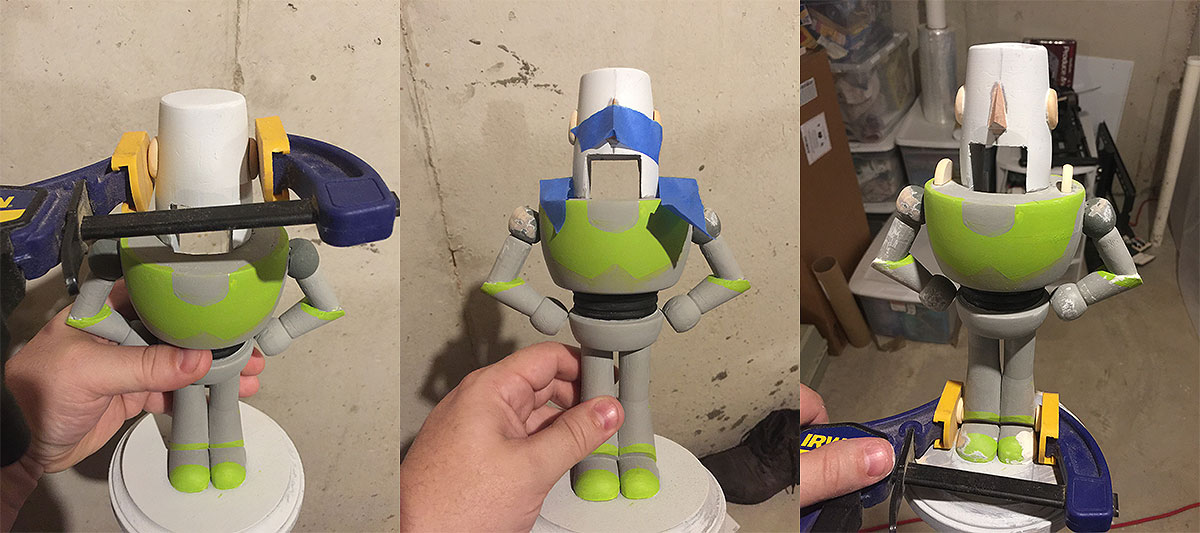
I used a table saw to cut out a recess for the lower jaw. The head got lopped off and got it’s own notch. This made room for the jaw

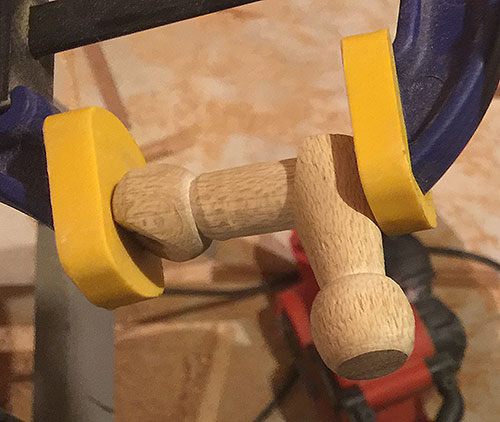
Which, with the help of a nail, works quite well as you can see.
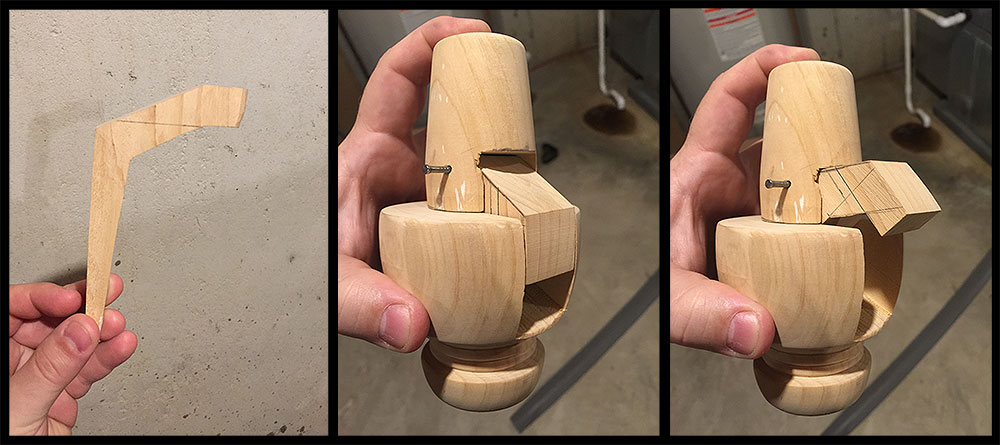
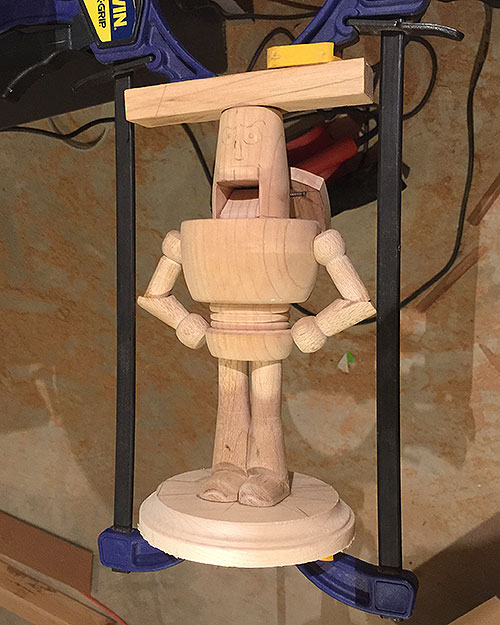
Originally I wanted a lever down the back to operate the “cracker”. I had the idea to trim down the handle and later add Buzz’s jetpack as the handle.
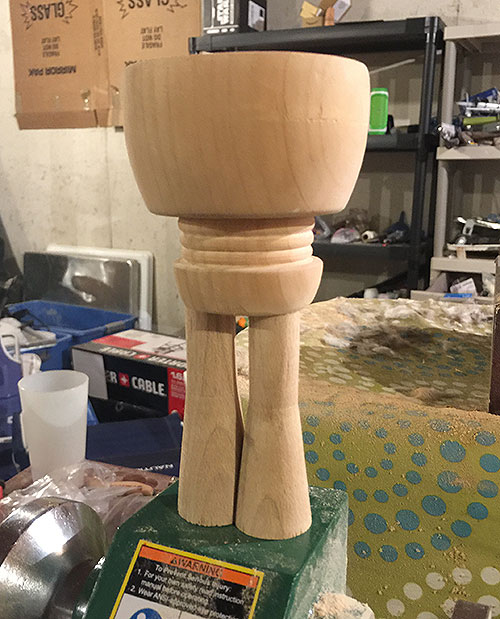
Here we have the legs turned. The body is just sitting on top.
I turned each arm as one piece then the middle bit out to separate the lower and upper arm. I decided to flare out the lower arm rather than make it straight like in the original sketch to make it look more like the gauntlets Buzz wears.
After much shaping, hand carving and several dowels we have the arms completed.
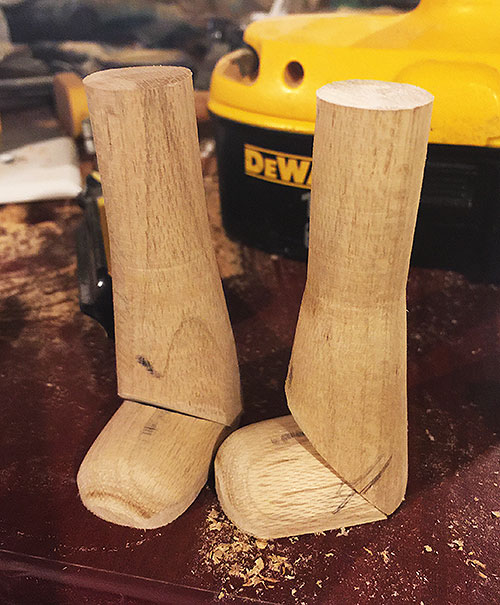
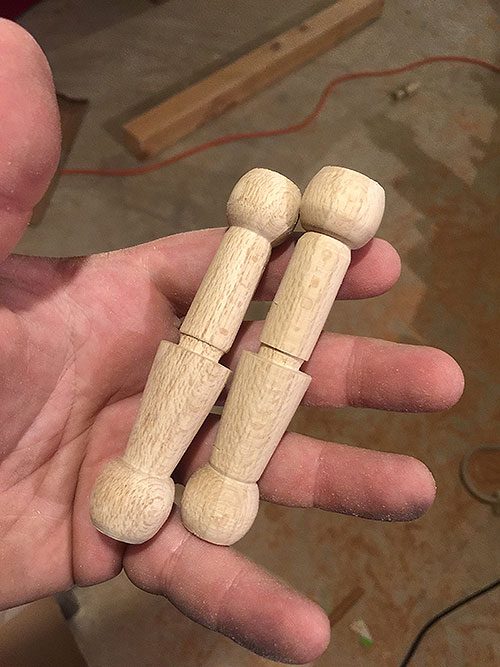
I turned the feet as one bullet-shaped piece then cut it in half on the scroll saw. I sanded down the legs and feet to 45 degrees and done.

I drilled for dowels in the feet, upper legs, shoulders and elbows. Buzz is all dry-fitted and ready for glue.
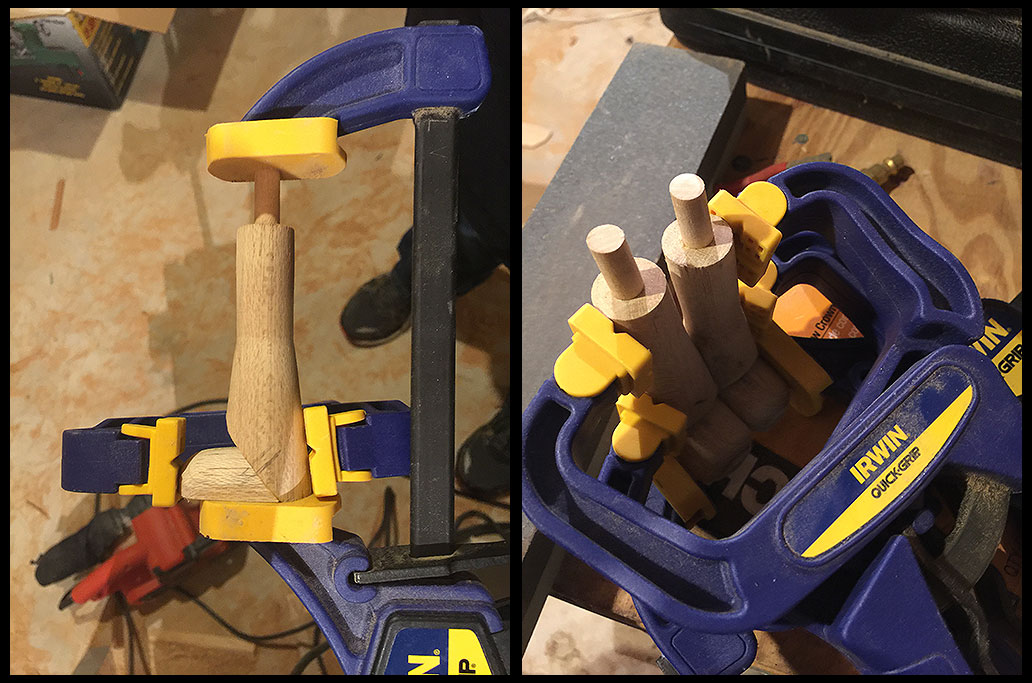
I glued the feet to the legs then the legs to each other. I love clamping. It’s one of my favorite parts for some reason.
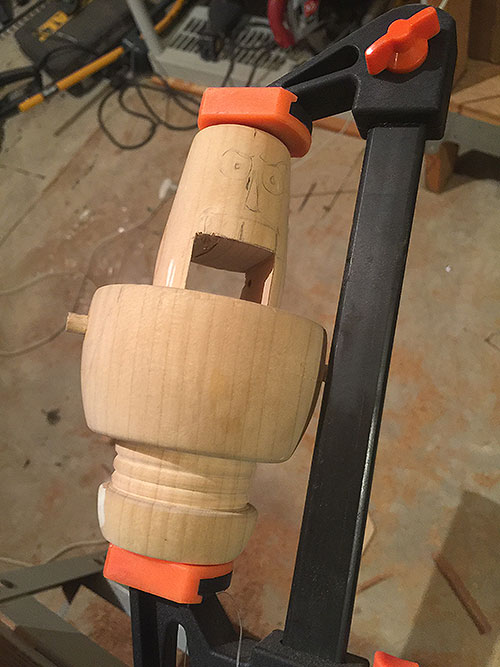
I reattached to head to the body.
I glued the upper and lower arms together then to the body.
The jetpack was sketched out over the original drawing, measured out on a wood scrap, cut and glued into place. I sanded down his back a bit to allow the jetpack to sit flush. It worked!

I cheated an bought a base from Hobby Lobby. I first glued the legs down to the base then drilled up from the bottom and forced dowels up into the legs from underneath. Done!
All that was left was to glue the legs to the body. If it looks like he’s in pain it’s because he is.
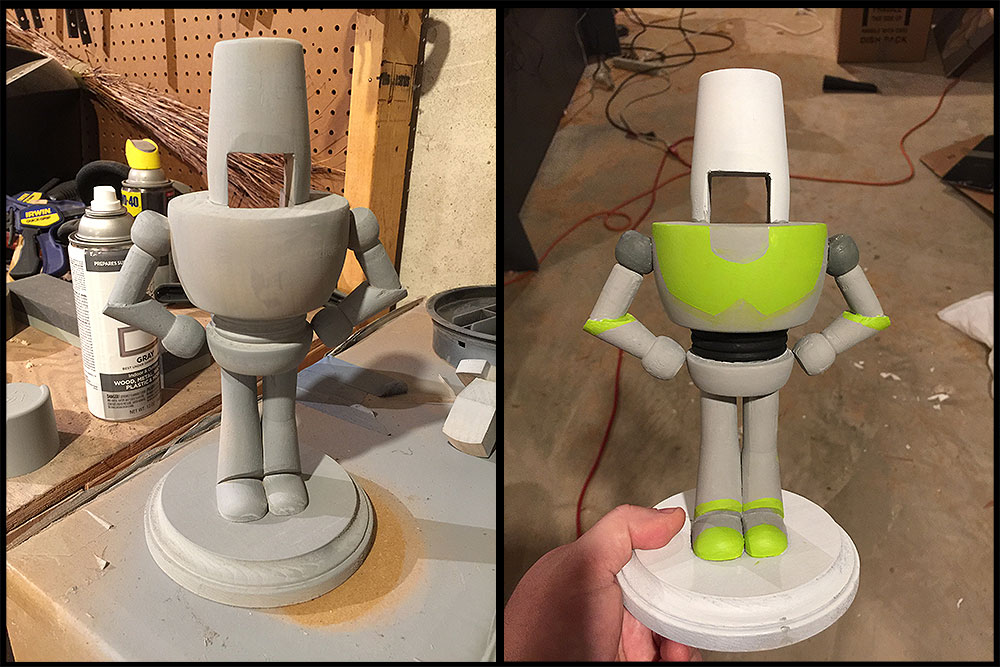
I primed him and started painting him. I had the body color done, the shoulders and stomach area. I had even painstakingly painted the chest plate and the other green areas. Then my daughter asks me, “Where’s his nose?” I had forgotten all about the little bits that needed to go on first.
I shaped and glued on the ears, nose, the little rings on the side of his boots, and the half-circles on his shoulders.
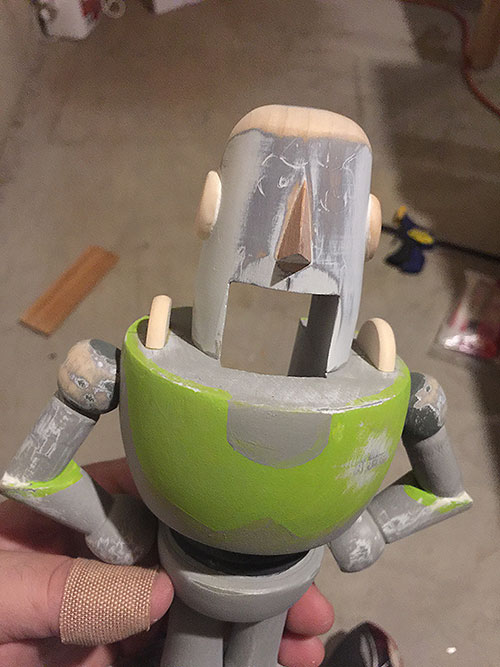
I took the opportunity to sand down a few rough spots that turned up after the painting. I rounded off his head a bit as well. NOW he’s ready for paint!
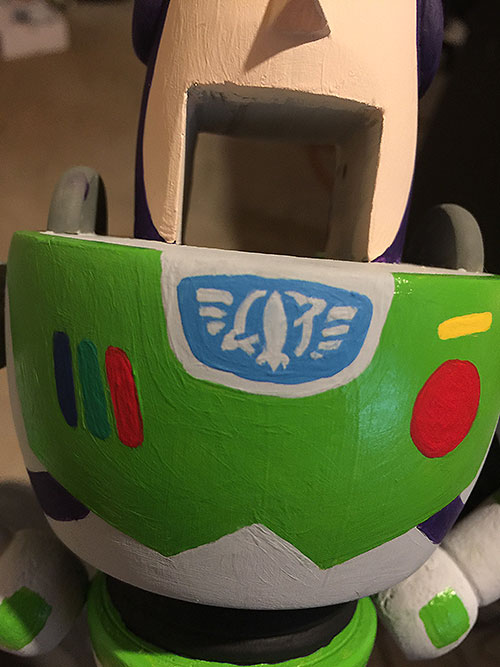
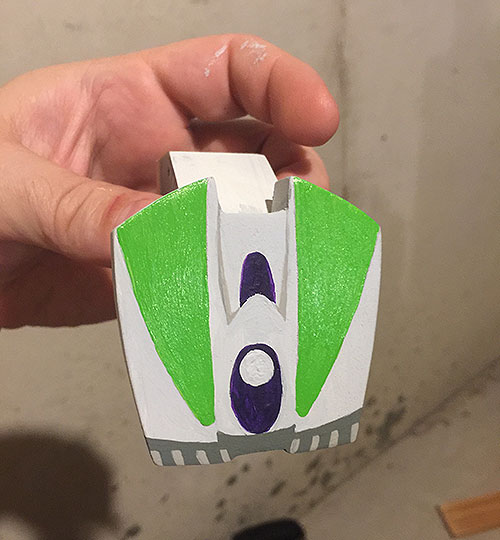
Let the painting begin! I went back to the Hobby Lobby and got some better colors. A lighter gray for one. A richer green and a darker purple as well. Then it was time to knock it out. I did the head first, then the green, purple bits then the buttons and logo. Check it out:
The arm bits were so-so. I should have gone out and bought smaller brushes. :/
I painted the face and added the jaw. After this I filed down the nail head and covered the hole with clay and painted it over.
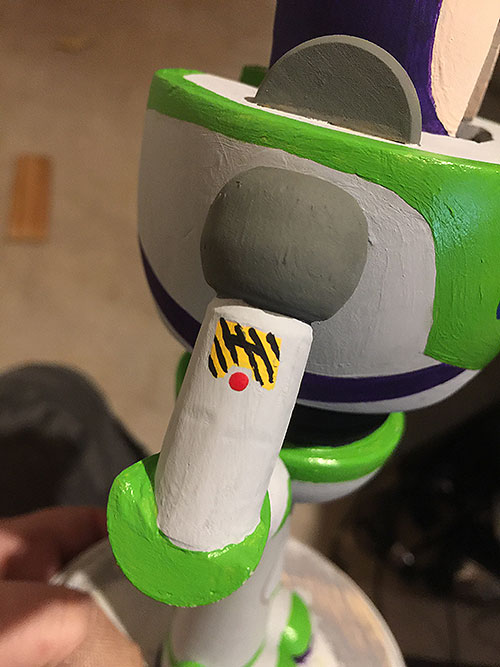
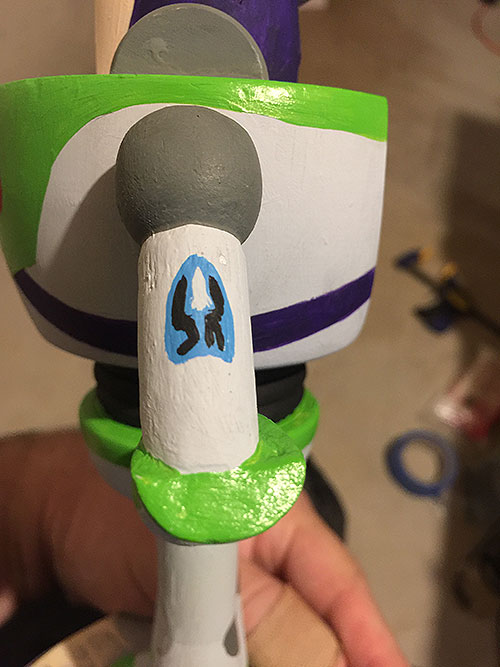
Oh, and I painted the jet pack.
Painting the base proved to be a challenge. I could have gone with purple, but the bottom of the shoes would have blended in. I thought about green naturally, but there was already so much of it. I put it out to the folks who were following the progress on Facebook. They suggested using the light blue from the chest logo. I wasn’t sure about it at first, but then I added stitches and stars to make it look like a bedspread from the movie.
I painted the side gold since it’s a technically a Christmas decoration.
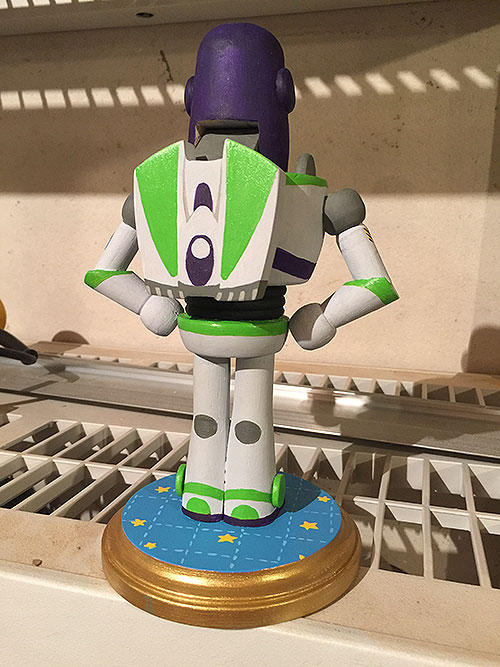
And here’s the back view.
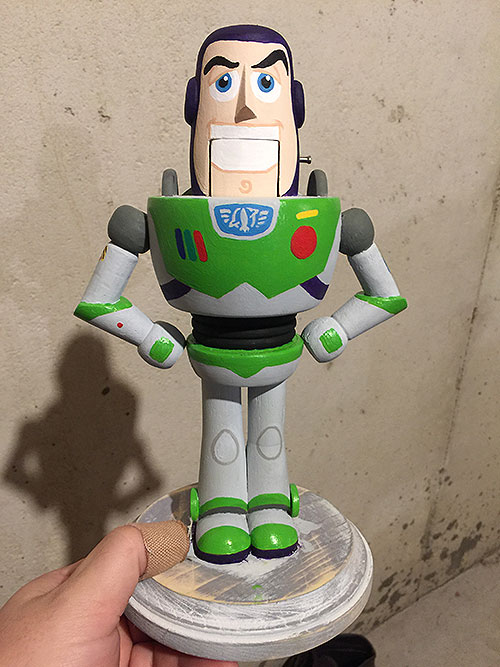
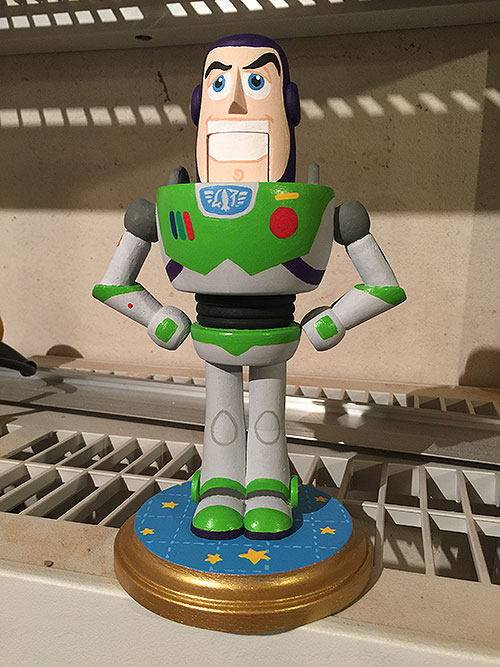
Several coats of spray polyurethane later this joker was finished!
Thanks for reading!
